Category: Foodies

  • 10 Best Snacks to Pack for Long-Distance Traveling

    10 Best Snacks to Pack for Long-Distance Traveling

    Are you planning a long-distance traveling and wondering how to keep yourself energized and satisfied during the journey? Snacks are the answer! But not all snacks are created equal. Some can make you feel sluggish, while others can give you a quick sugar rush, leaving you hungry again. In this article, we’ve compiled a list of the 10 best snacks that are healthy, satisfying, and easy to pack for your next long-distance travel.

    Trail Mix

    Trail mix is a classic travel snack that is perfect for long-distance traveling. It’s lightweight, compact, and packed with protein and healthy fats to keep you full for longer periods. Make your own trail mix by combining nuts, seeds, dried fruits, and a few chocolate chips for a sweet treat.

    Fresh Fruit

    Fresh fruit is a refreshing and healthy snack that is perfect for traveling. Fruits like apples, bananas, and oranges are easy to pack and can help keep you hydrated during your journey. Plus, they provide natural sugars to help keep you energized.

    Jerky

    Jerky is a high-protein snack that is perfect for long-distance traveling. It’s easy to pack, won’t spoil, and can help keep you full for longer periods. To avoid excess sodium and preservatives, look for jerky made from lean meats like turkey, beef, or bison.

    Roasted Chickpeas

    Roasted chickpeas are a crunchy and satisfying snack that is easy to make at home and take on the go. Simply season chickpeas with your favorite spices, roast them in the oven until crispy, and pack them in a resealable bag for a delicious and healthy snack.

    Energy Bars

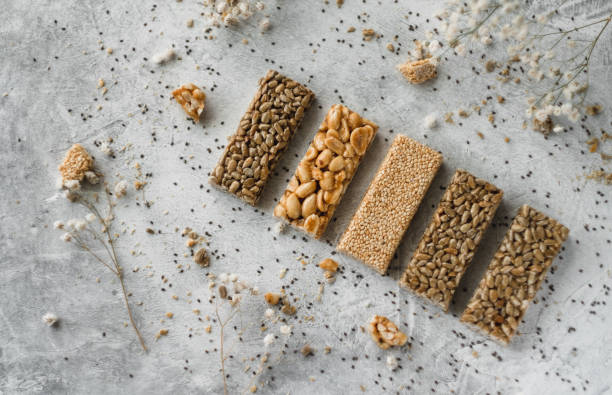
    Energy bars are a convenient and filling snack that can provide you with the fuel you need to power through long-distance travel. Look for bars that are high in protein and fiber and low in added sugars for a healthy and satisfying snack.
    Cheese and Crackers

    Cheese and crackers are a classic snack that is perfect for long-distance travel. Choose whole-grain crackers and a variety of cheese for a balanced and satisfying snack that will keep you full until your next meal.

    Hummus and Veggies

    Hummus and veggies are a healthy and delicious snack that is easy to pack and eat on the go. Pack a small container of hummus and a variety of veggies like carrots, celery, and bell peppers for a filling and nutritious snack.

    Dark Chocolate

    Dark chocolate is a healthy and satisfying snack that can help satisfy your sweet tooth while providing some important nutrients. Look for dark chocolate that is at least 70% cacao for the most health benefits.

    Popcorn

    Popcorn is a low-calorie and filling snack that is perfect for long-distance travel. Make your own popcorn at home and season it with your favorite spices for a healthy and delicious snack that won’t weigh you down.

    Nut Butter and Rice Cakes

    Nut butter and rice cakes are a healthy and satisfying snack that is perfect for long-distance travel. Look for nut butter that is made with just nuts and no added sugars or oils and pair it with whole-grain rice cakes for a filling and nutritious snack.

    Packing the right snacks is essential for long-distance travel. These 10 healthy and delicious snack ideas are easy to pack and will help keep you fueled and satisfied during your journey. So, pack your bags, grab some snacks, and enjoy your next long-distance travel adventure!
  • How to Make Delicious Homemade Cheese: A Step-by-Step Guide

    How to Make Delicious Homemade Cheese: A Step-by-Step Guide

    There’s nothing quite like the taste of homemade cheese. Whether you’re a cheese lover looking to try your hand at cheesemaking or simply looking to create something delicious and unique, making your own cheese is a rewarding and fun experience. And the best part? It’s easier than you might think. With a few basic ingredients and some simple equipment, you can make your own delicious cheese right at home.

    Choose Your Milk

    The first step in making cheese is choosing your milk. While cow’s milk is the most commonly used milk for cheesemaking, you can also use goat’s milk, sheep’s milk, or even buffalo milk. Choose a high-quality, non-homogenized milk for the best results.

    Add Your Culture

    Once you have your milk, you’ll need to add a starter culture to it. This will help to acidify the milk and create the right environment for the cheese to form. You can purchase a cheese culture from a specialty store or use a natural starter like buttermilk or yogurt.

    Add Rennet

    Next, you’ll need to add rennet to the milk. Rennet is an enzyme that helps to coagulate the milk and create curds. You can purchase rennet tablets or liquid rennet from a specialty store or use a natural source like fresh nettles.

    Cut and Stir the Curds

    Once the milk has coagulated and formed curds, you’ll need to cut them into small pieces and stir them gently. This will help to release the whey and create a firmer cheese.

    Drain and Salt the Curds

    After the curds have formed, you’ll need to drain them and salt them. The salt will help to flavor the cheese and prevent bacteria from growing. You can also add herbs or spices to the cheese at this stage for additional flavor.

    Press and Age the Cheese

    Finally, you’ll need to press the cheese to remove any remaining whey and shape it into a wheel or block. Depending on the type of cheese you’re making, you may need to age it for a few days or several months.

    Making your own cheese is a fun and rewarding experience that anyone can enjoy. With a few basic ingredients and some simple equipment, you can create delicious cheese right at home. So what are you waiting for? Get started today and impress your friends and family with your newfound cheesemaking skills!

  • How to Create a Mouthwatering Cheese Platter

    How to Create a Mouthwatering Cheese Platter

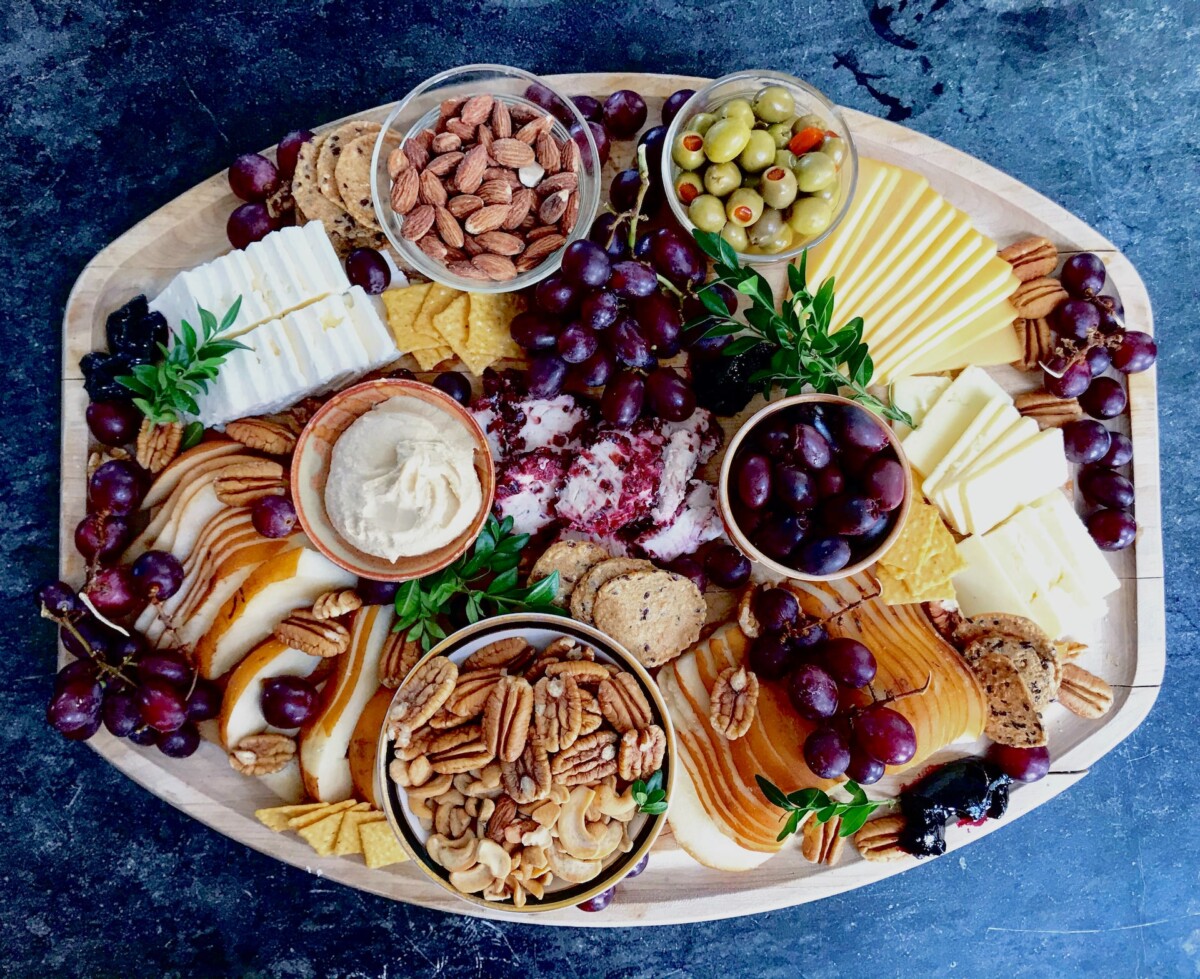
    Cheese platters are the perfect addition to any gathering or party, providing a delicious and impressive spread that is sure to please any guest. However, creating the perfect cheese platter can seem daunting, with so many cheese varieties and accompaniments to choose from.

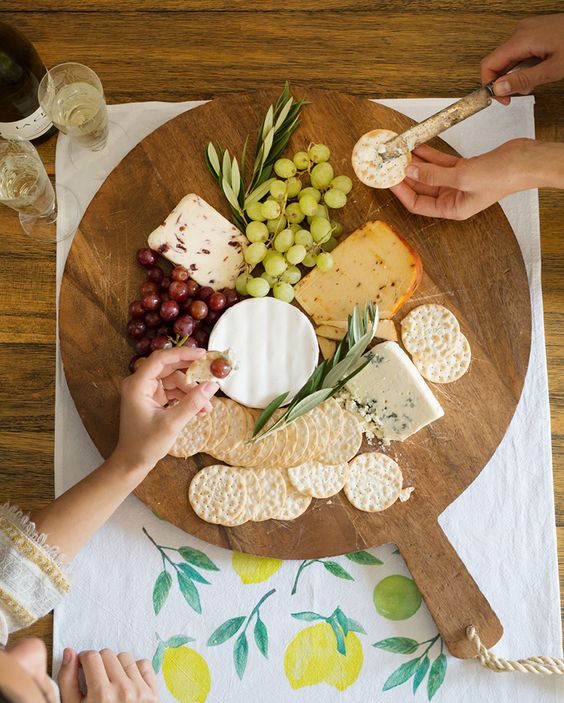
    Creating a cheese platter requires selecting a variety of cheeses, adding complementary accompaniments, arranging them aesthetically, and serving at the right temperature. With these tips, you’ll be well on your way to creating a delicious and visually stunning cheese platter.

    But fear not! With a few simple tips and tricks, you can create a mouthwatering cheese platter that will leave your guests raving.

    1. Choose Your Cheeses Wisely

    Choose Your Cheeses Wisely

    The key to a great cheese platter is variety. Choose a mix of soft, hard, and blue cheeses, each with its own unique flavor and texture. Some popular choices include brie, cheddar, gouda, and blue cheese. You can also experiment with more unusual options, such as goat cheese, manchego, or pecorino.

    2. Add Accompaniments

    Add Accompaniments

    While cheese is the star of the show, the right accompaniments can take your platter to the next level. Consider adding nuts, such as almonds or walnuts, or dried fruits, like apricots or figs, to add a sweet and crunchy contrast to the cheese. Olives, crackers, and bread also make great additions.

    3. Pay Attention to Presentation

    Pay Attention to Presentation

    The presentation of your cheese platter is just as important as the flavors. Arrange your cheeses and accompaniments in a way that is visually appealing, making sure to leave plenty of space for guests to grab what they want. Use cheese knives to cut the cheese into bite-sized pieces, and label each cheese with its name and origin.

    4. Serve at the Right Temperature

    Cheese should be served at room temperature, as this allows the flavors to fully develop. Take your cheeses out of the fridge an hour before serving to allow them to warm up. If you are serving outside on a hot day, make sure to keep the cheese in the shade or in a cooler to prevent it from melting.

    Creating a mouthwatering cheese platter is easier than you might think. With a little creativity and attention to detail, you can create a spread that will impress your guests and leave them wanting more. So go ahead and get started – your taste buds will thank you!